












In the sprawling, gothic landscape of Castlevania: Belmont’s Curse, the Prison Tower stands as one of the most formidable obstacles for players attempting to progress toward the game’s climactic encounters. Located within the Paris Streets map, the structure serves as a vertical gauntlet where traditional platforming mechanics and whip-based acrobatics are tested to their limits. As players push northward from the Gate to the Catacombs and shift toward the west, they are met with the imposing architecture of the tower, which houses the Warrior—a pivotal boss fight that must be cleared to unlock access to the deeper, more treacherous catacombs below.
While the lower levels of the Prison Tower offer a standard, if challenging, experience in traversal, the upper reaches present a significant structural barrier. Players will quickly find that simple jumping and climbing maneuvers are insufficient to bridge the gap toward the Roof of the Tower, where the Warrior awaits. Navigating this vertical expanse requires more than just raw agility; it demands an understanding of the environment’s hidden mechanical systems, specifically the elusive carpenter’s crane.

The Path to the Upper Tower and the Spirit’s Revelation
The journey to the summit of the Prison Tower is not merely a matter of linear progression. Players must engage with the surrounding buildings, utilizing them to manipulate the environment—specifically by lowering gates that double as platforms and swinging points. However, the path to the Roof of the Tower is intentionally obscured, requiring the player to uncover a specific hidden mechanism.

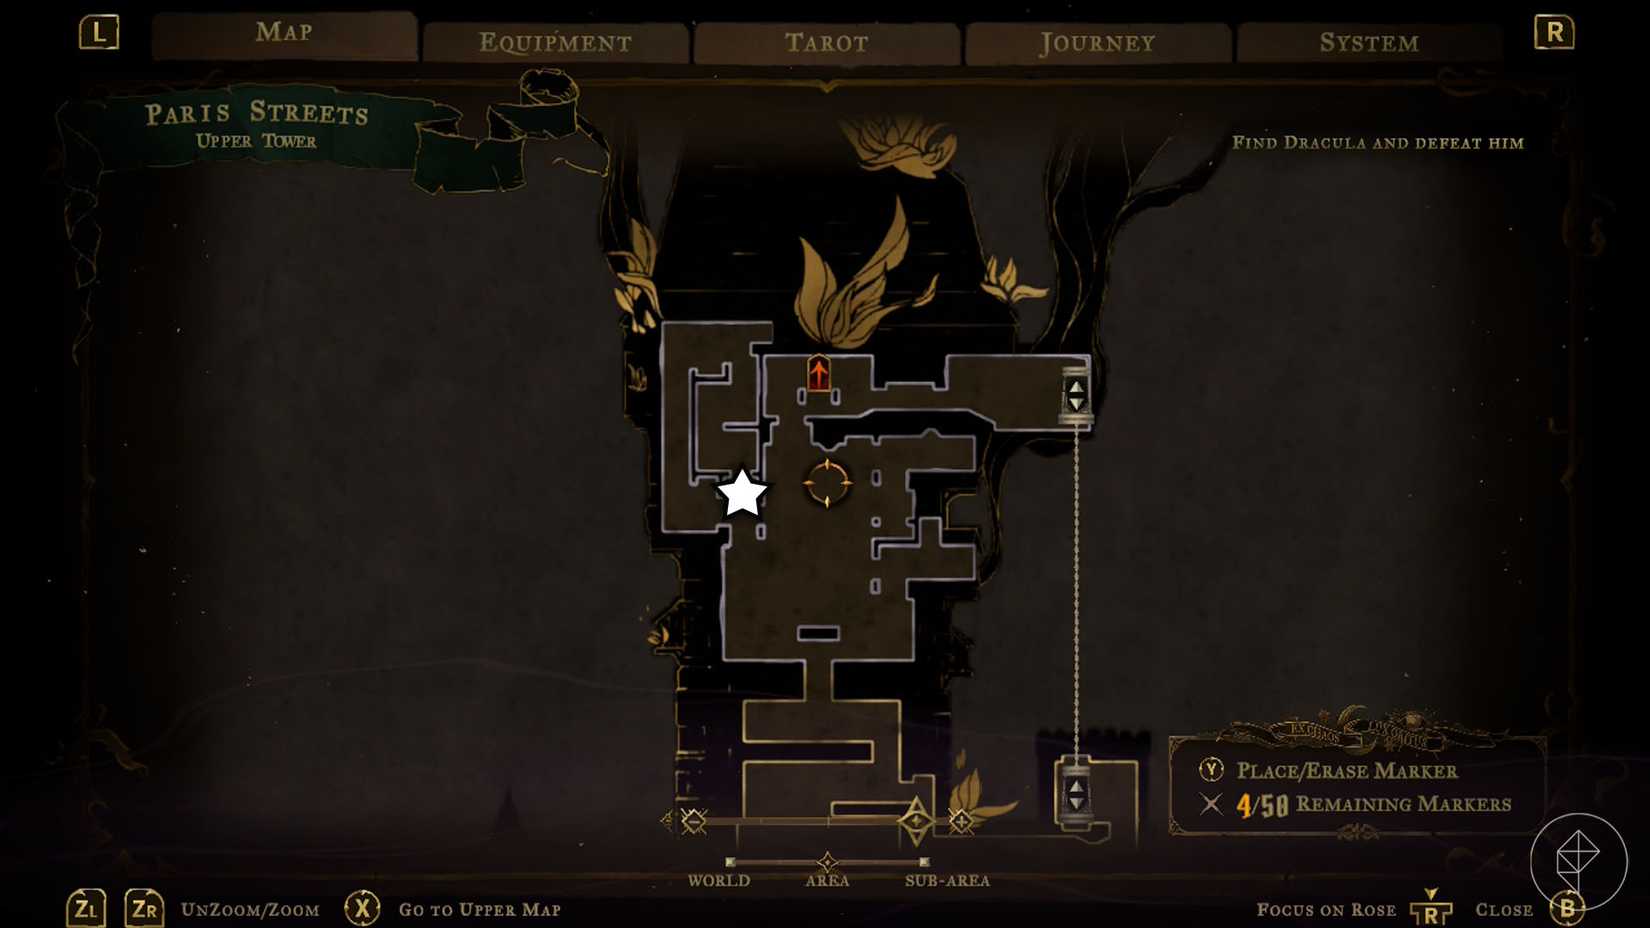
The essential information regarding this mechanism is hidden away in the western segment of the Upper Tower. To reach this area, players must demonstrate mastery of the game’s movement systems by swinging across two distinct yellow anchors. Once across, they will find themselves on a platform housing a lever. It is here, in this elevated section, that a spirit resides, offering the necessary clues to bypass the locked door leading to the roof.

Reaching this spirit is a challenge in itself, as the path is lined with environmental traps that force the player to move with precision. By wall-jumping between surfaces and navigating the left side of the chamber, players can access a small, isolated platform in the room’s corner. Along this route, keen-eyed players may notice a breakable wall on the right side of the chamber; destroying this reveals a "defense up" collectible, a useful boon for those preparing for the upcoming boss battle. From this vantage point, players must drop and time their whip swings with rhythmic accuracy, pulling themselves toward a purple anchor on the left before transitioning to a second anchor on the right.
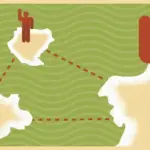
Upon successfully engaging the spirit, the player is presented with a sketch of the carpenter’s crane. This document is vital, as it identifies the specific anchor that must be manipulated to open the door leading to the crane’s mechanism. While the map provided by the spirit offers the necessary roadmap, its abstract nature can prove difficult to decipher in the heat of exploration, leading many players to struggle with the final steps of the ascent.
Locating and Activating the Carpenter’s Crane
For those who have gathered the intelligence from the spirit but remain unable to locate the machinery, the solution lies in the northeastern section of the Prison Tower map. Successfully activating the crane requires the player to backtrack slightly to the lower levels of the tower, specifically returning to the same altitude as the Mirror of Life room.
Once in this lower zone, the player must head west. Before stepping back into the tower’s main interior, it is necessary to utilize the purple anchor located just outside. By swinging from the wall to a yellow anchor and then back into the tower, players can reach a higher purple anchor that leads to an elevated platform. This sequence of movements is essential for positioning oneself correctly to interact with the crane’s controls.
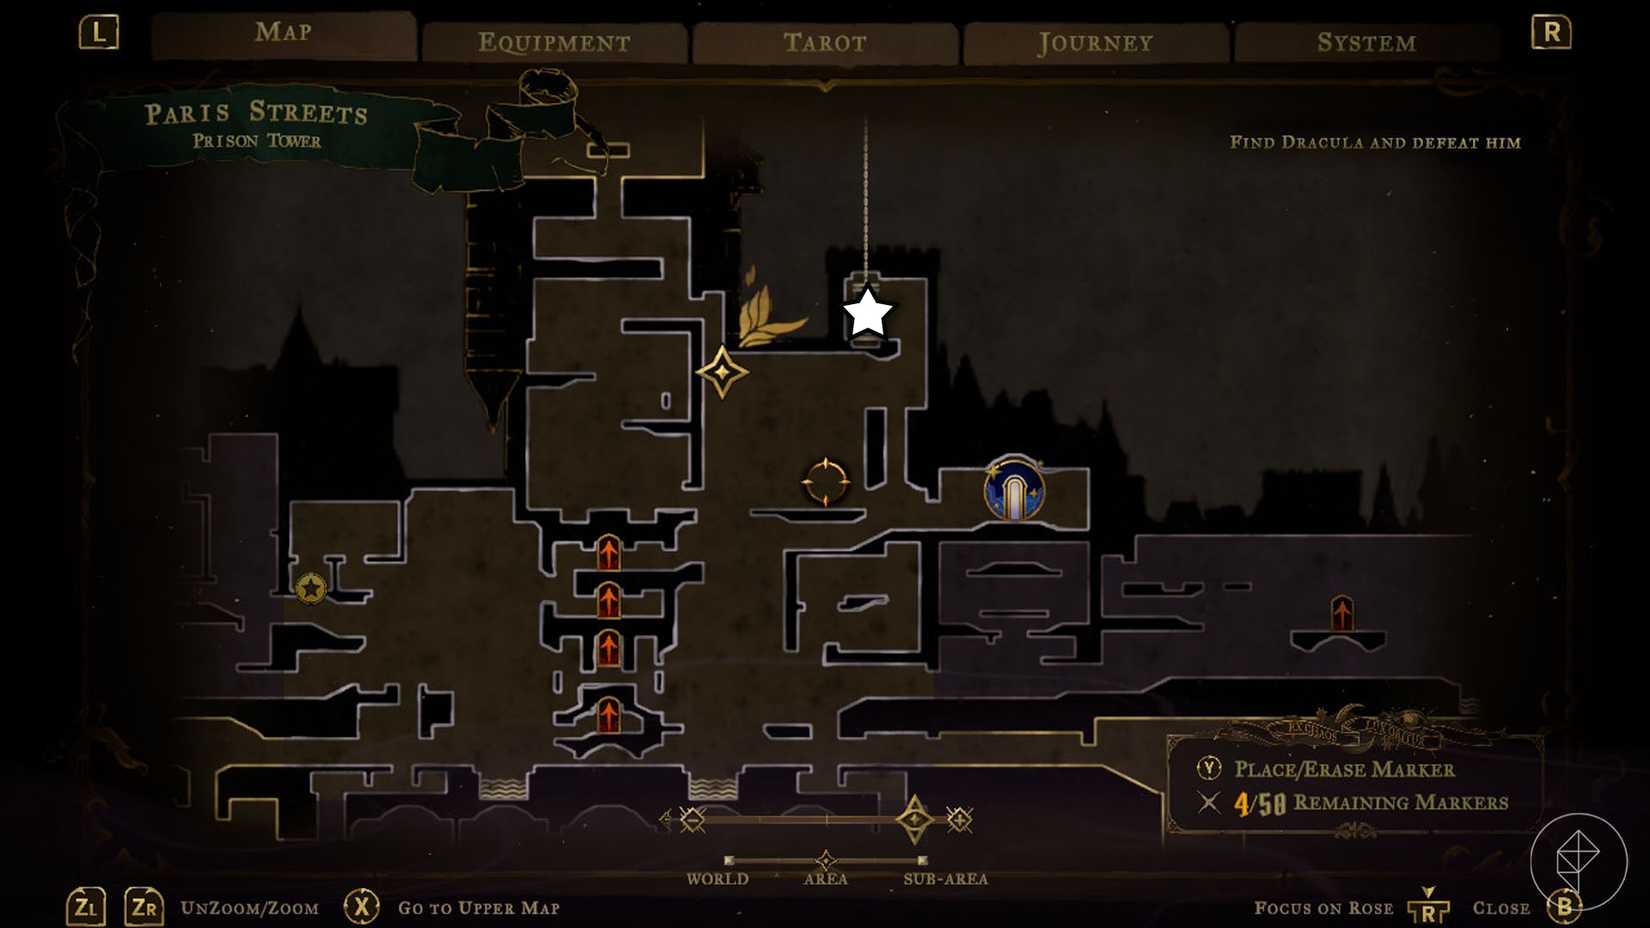
The final piece of the puzzle is situated to the right of this platform. Players will spot a yellow anchor; by using the whip to swing across to it, they will arrive at another yellow anchor, this one marked by a distinct wooden hexagon above it. This is the activation point for the mechanism. To trigger the crane and open the passage, the player must swing on this specific anchor three times. Once this condition is met, the door guarding the crane will open, allowing the player to ride it to the summit.
This mechanical shortcut serves as the final gateway to the Roof of the Tower. Reaching this area is the only way to trigger the encounter with the Warrior, bringing the player one step closer to clearing the Prison Tower and descending into the depths of the catacombs. As with many challenges in Castlevania: Belmont’s Curse, success is predicated on the player’s ability to observe the environment, interpret the clues left by the game’s denizens, and execute complex maneuvers with the whip. With the crane now functional, the path to the roof is clear, and the confrontation with the Warrior is ready to begin.