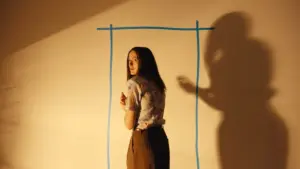







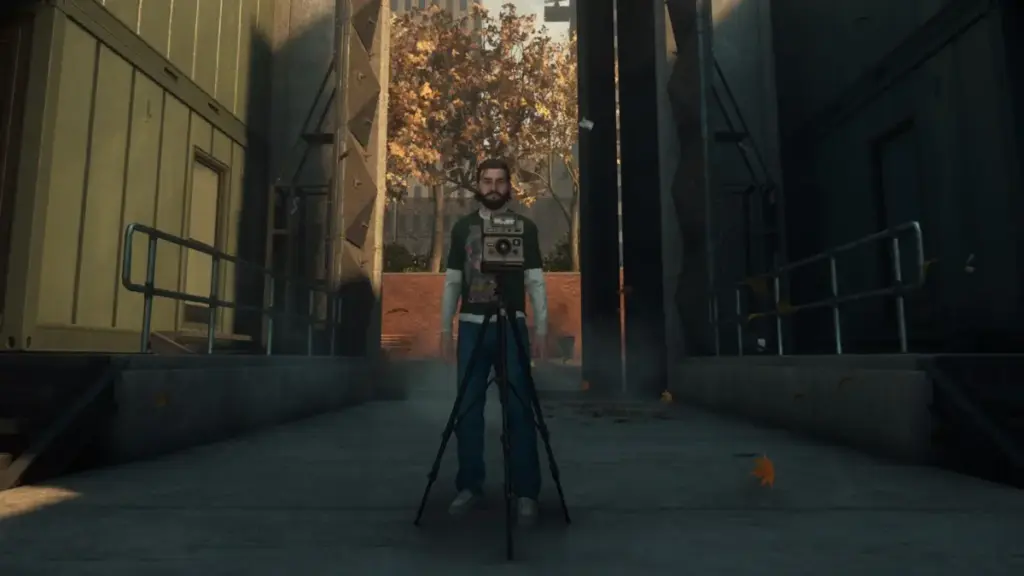
In the sprawling, reality-warping landscape of Control Resonant, players are frequently tasked with investigating anomalous phenomena that threaten the stability of the environment and the safety of the remaining civilian population. Among the most vexing and persistent of these challenges is the “Freeze Frame” quest. This mission requires players to track down a series of sentient, hostile cameras that possess the unsettling ability to lock anyone in their line of sight into a static, frozen state the moment they capture a photograph.

Successfully completing this quest demands more than just sharp eyes; it requires tactical movement and the intelligent use of traversal abilities. As these cameras are scattered across nearly every major zone of the game, players must exercise caution, utilizing stealth and environmental awareness to approach the devices from behind, where they can be manually deactivated. While the game provides instant photos as rudimentary clues, these visual hints are intentionally sparse, leaving much of the detective work to the player.
Before embarking on this extensive hunt, it is highly recommended that players secure the Shift and Reach traversal abilities. These powers are essential for accessing the more difficult-to-reach areas where the cameras are hidden, and attempting to complete the quest without them will prove frustrating, if not impossible.
Downtown: Navigating the Upside-Down
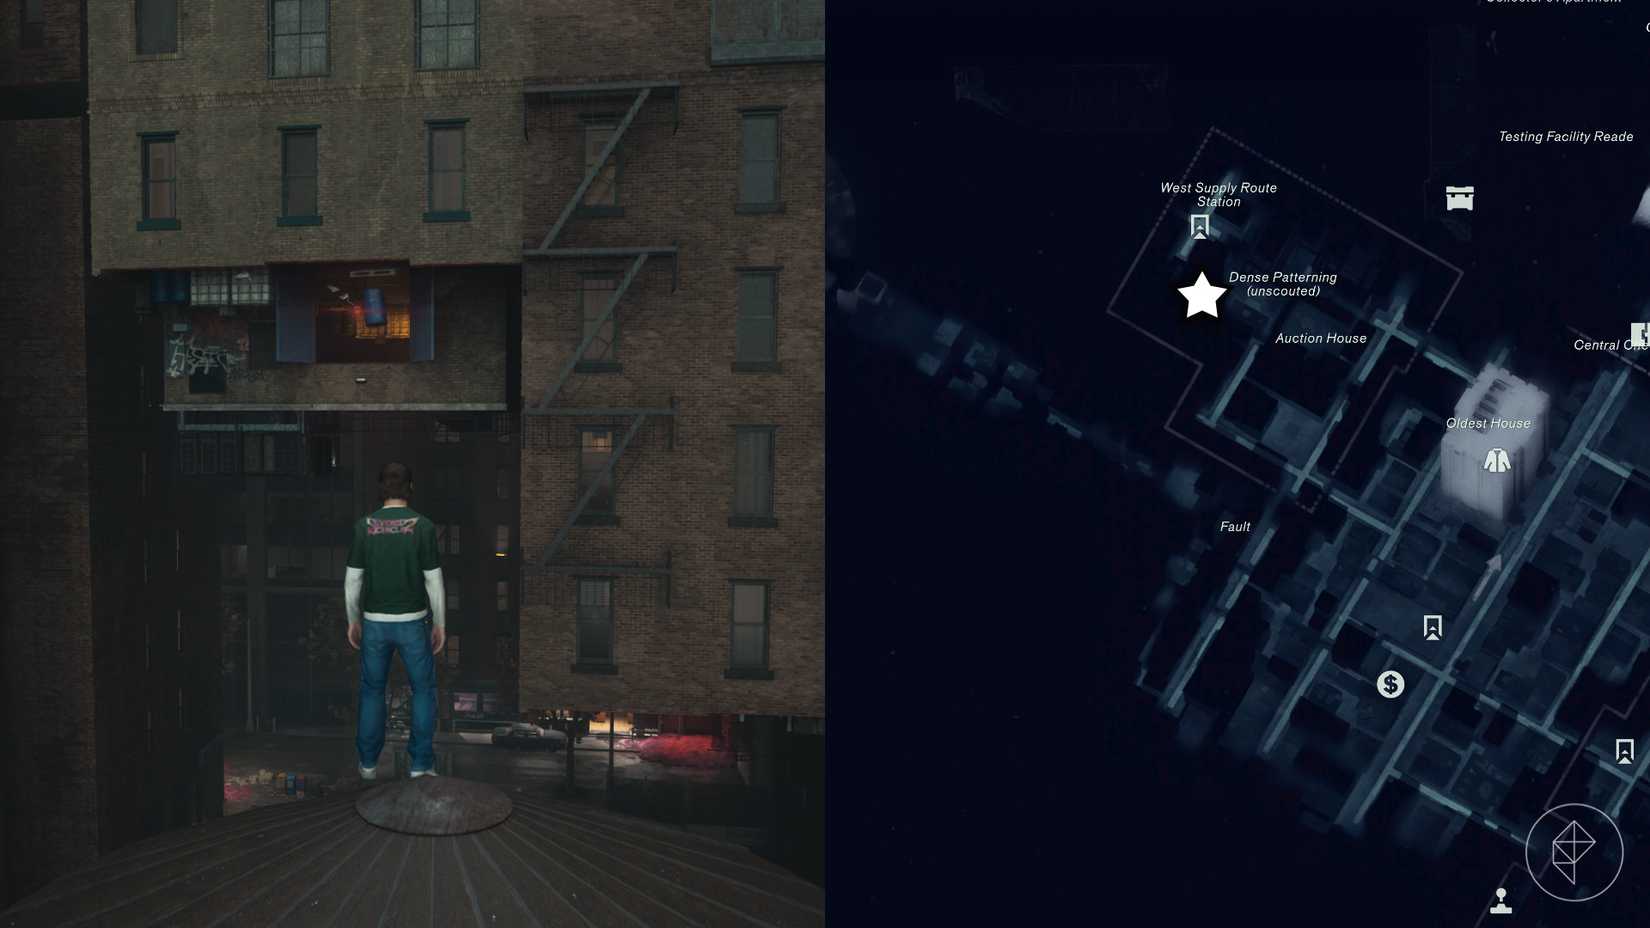
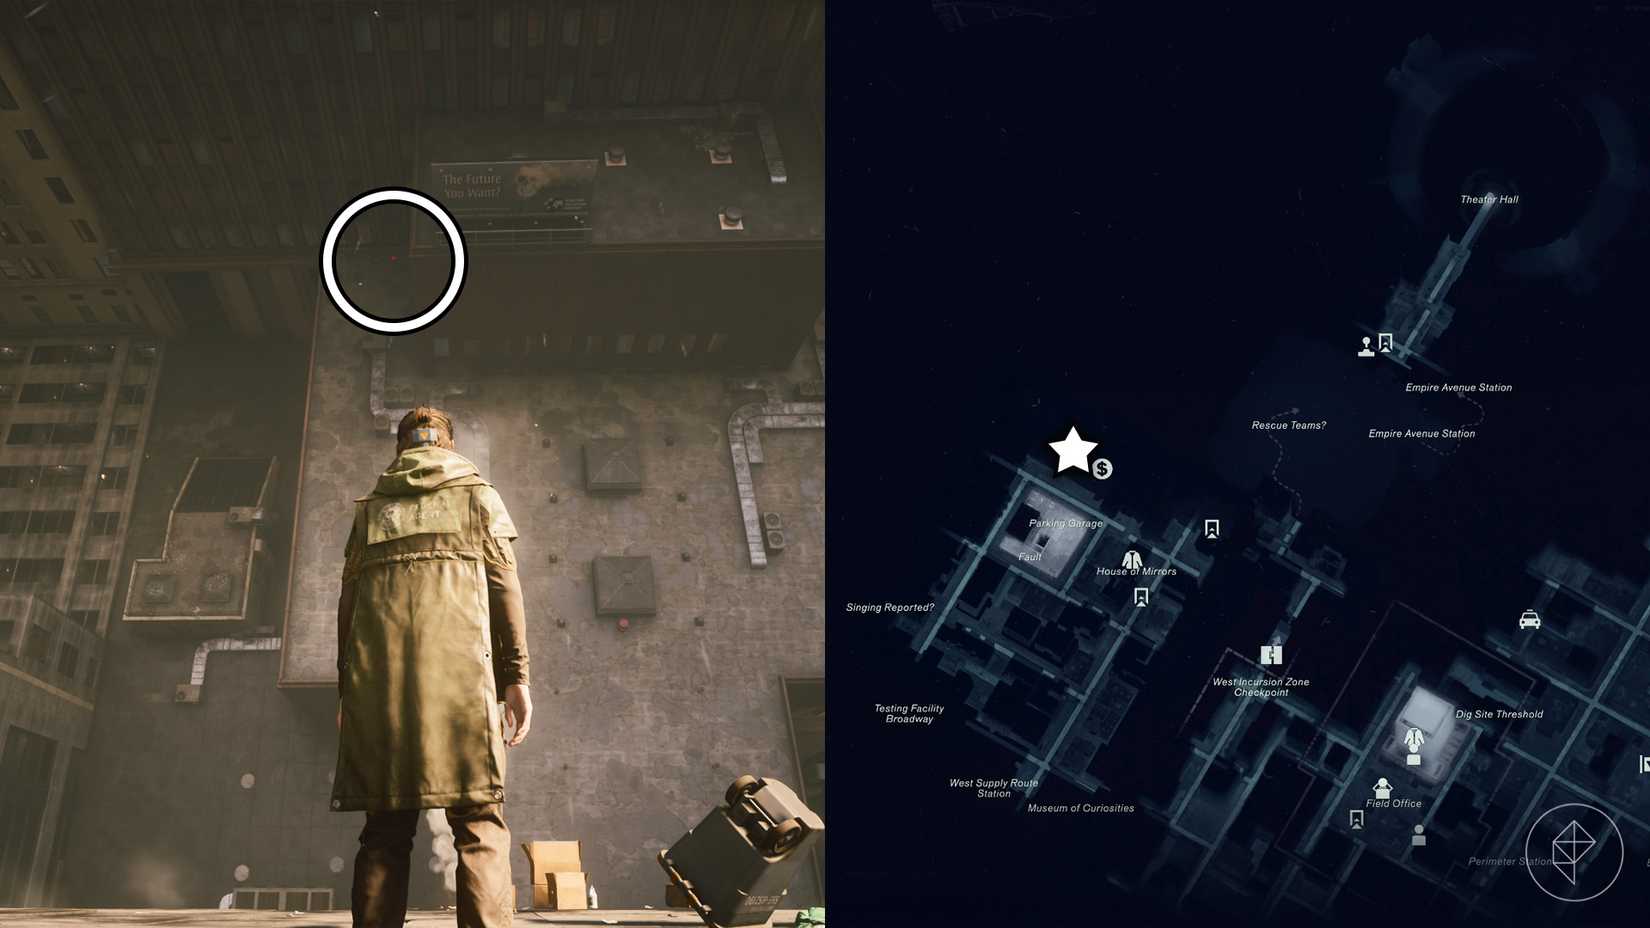
The Downtown sector presents two distinct, high-stakes camera encounters. The first is situated in the northwestern region, positioned strategically east of the Dense Patterning area and south of the West Supply Route Station. Accessing this specific location requires the Shift ability, which can be obtained at the Incursion Fault within the West Incursion Zone.
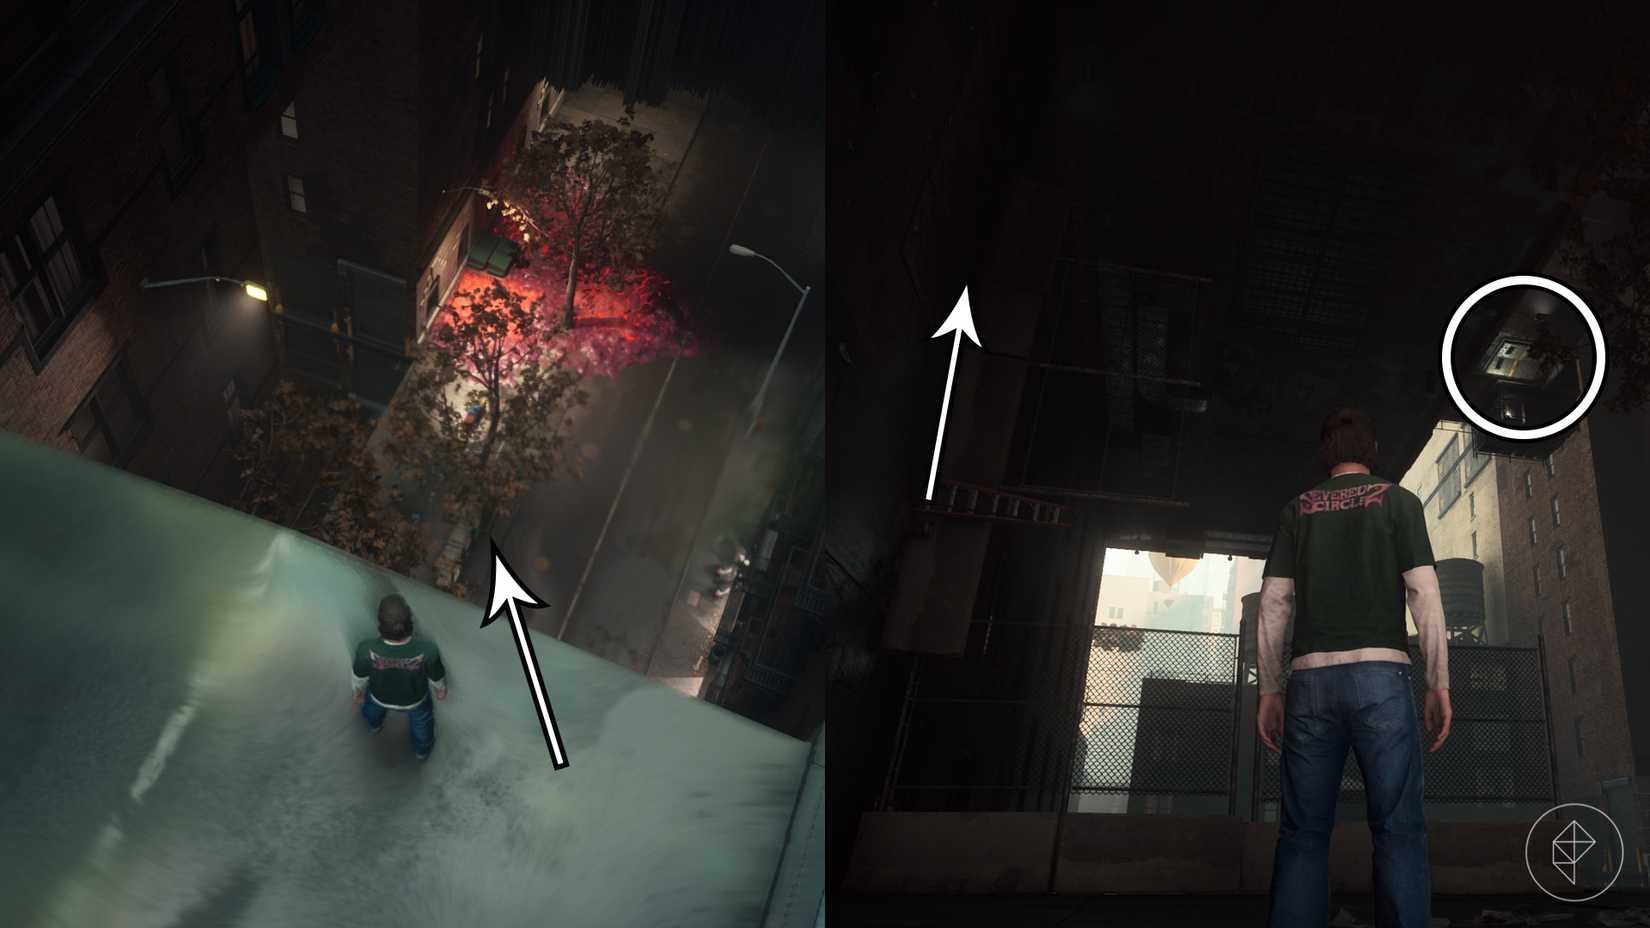
To reach this camera, players should track the road leading southwest from the West Supply Route Station. Upon dropping onto the lower street level, the architecture begins to distort, revealing an upside-down building to the east. By looking upward, players will spot a locked metal door fixed to the structure. Using the Shift ability to scale the vertical wall to the left allows the player to land on the rooftop. From there, the door can be forced open using the Crush ability, granting access to the camera, which can then be safely shut down.
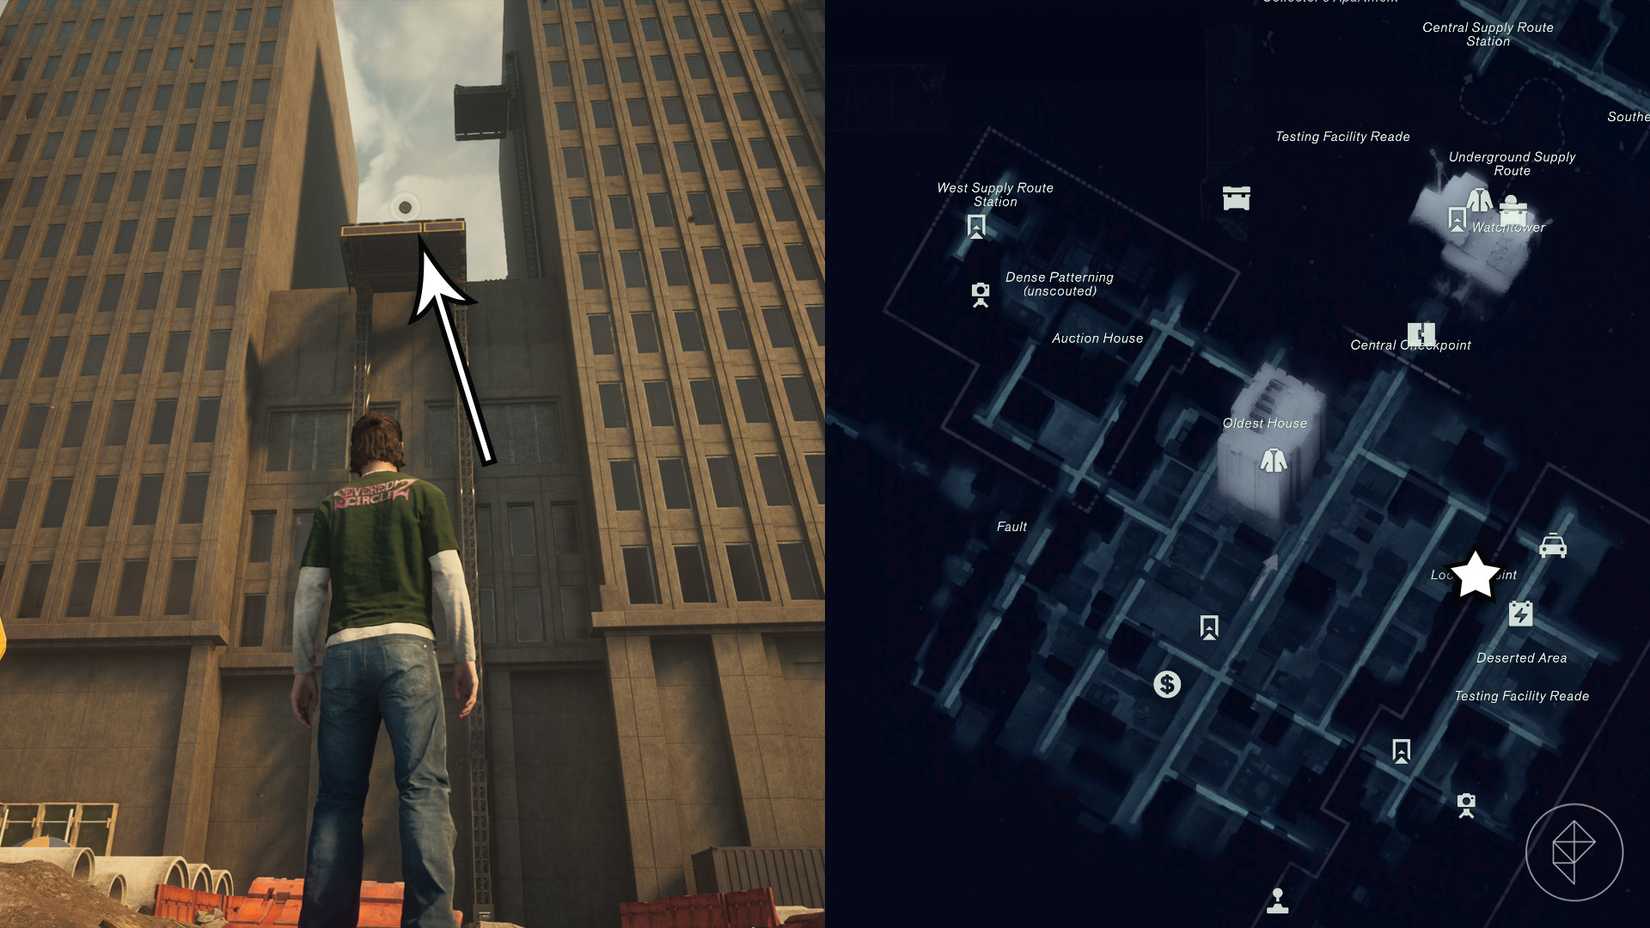
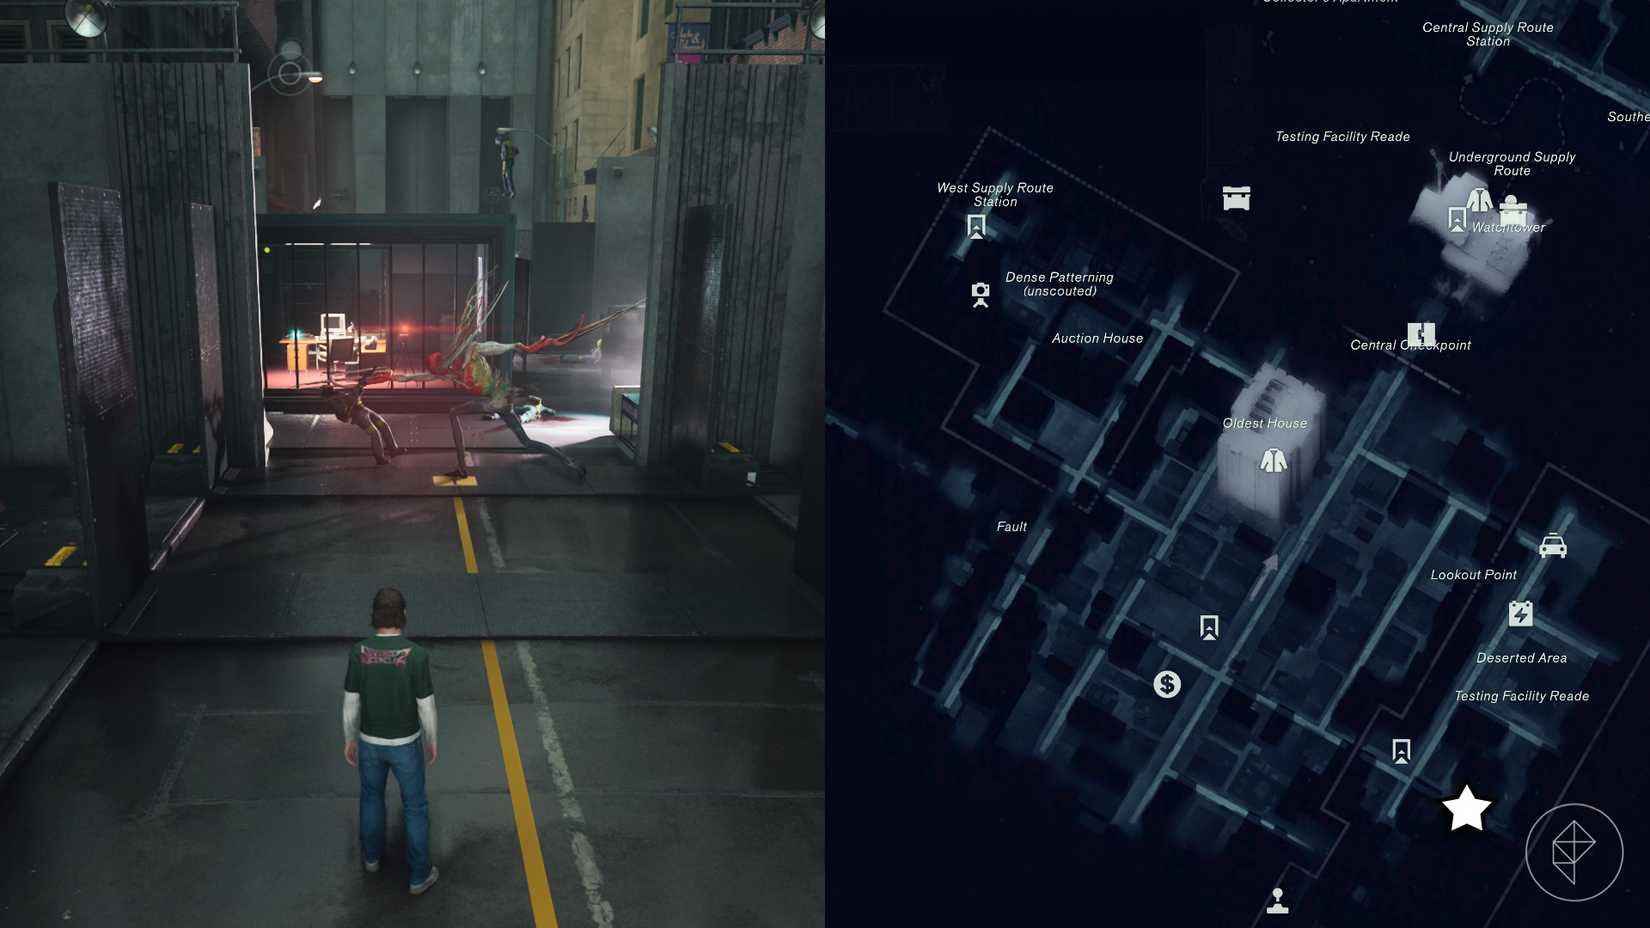
The second camera in the Downtown zone is located in the southeastern corner of the eastern region. This location requires the Reach ability, found within the Subway Fault in the Evacuation Zone. Once at Lookout Point, players must use Reach to access an elevated metal platform. Below this platform lie several power cores. While a core is needed to unlock the door behind the camera, players are advised to first acquire the "Extended Rush" talent to better manage the demanding traversal route required to reach the device.
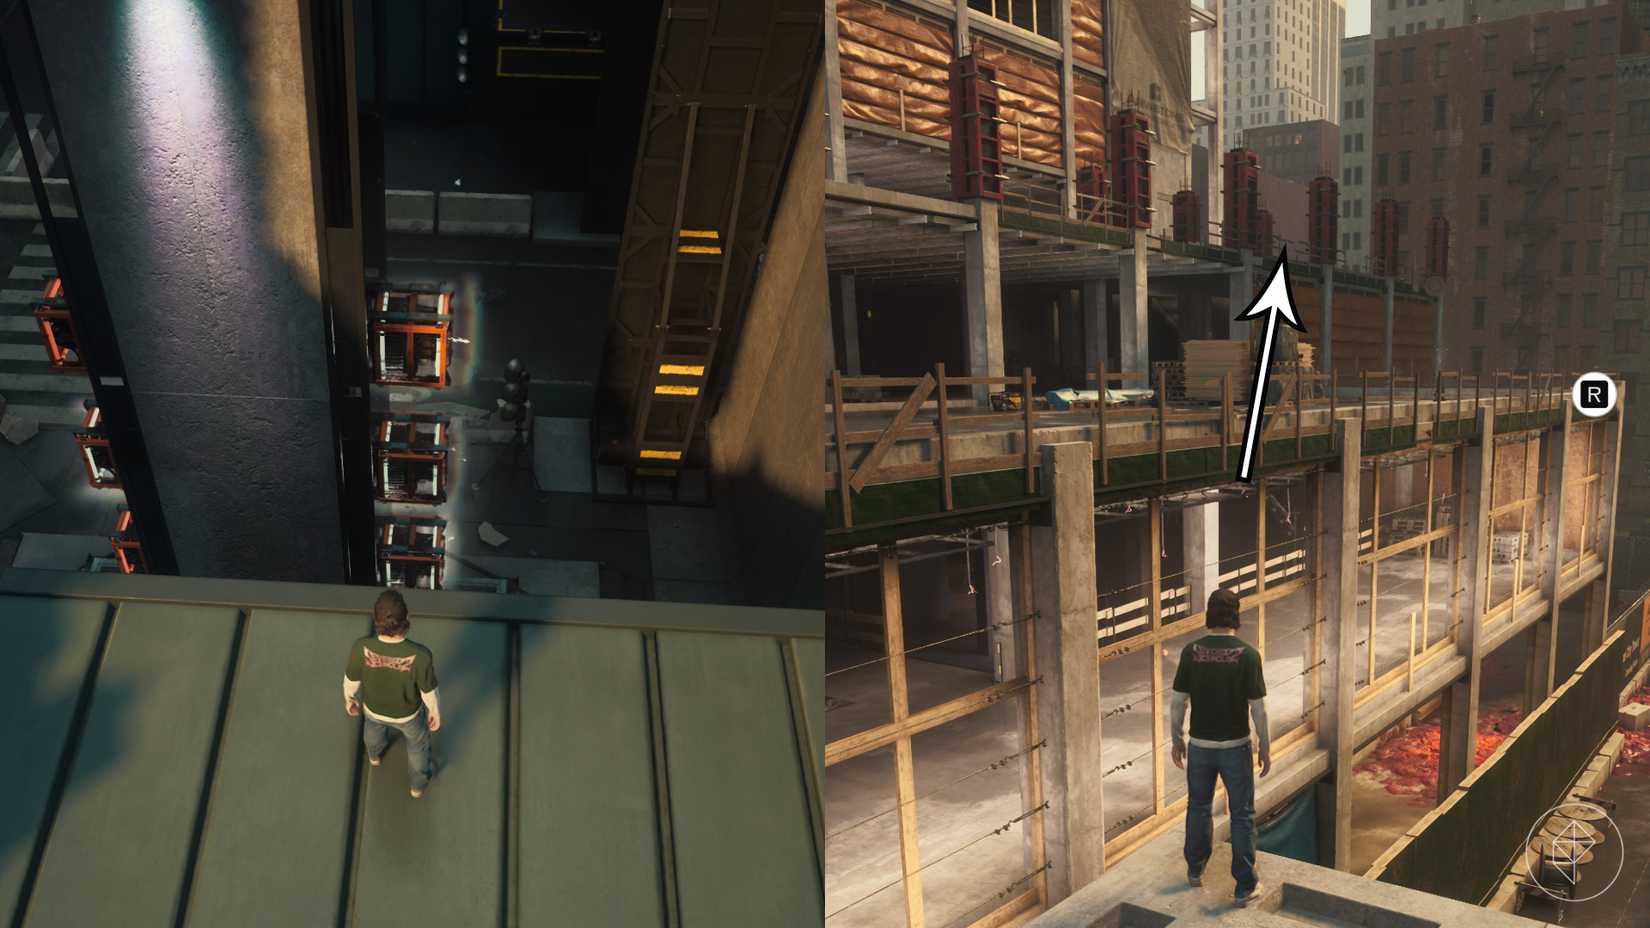
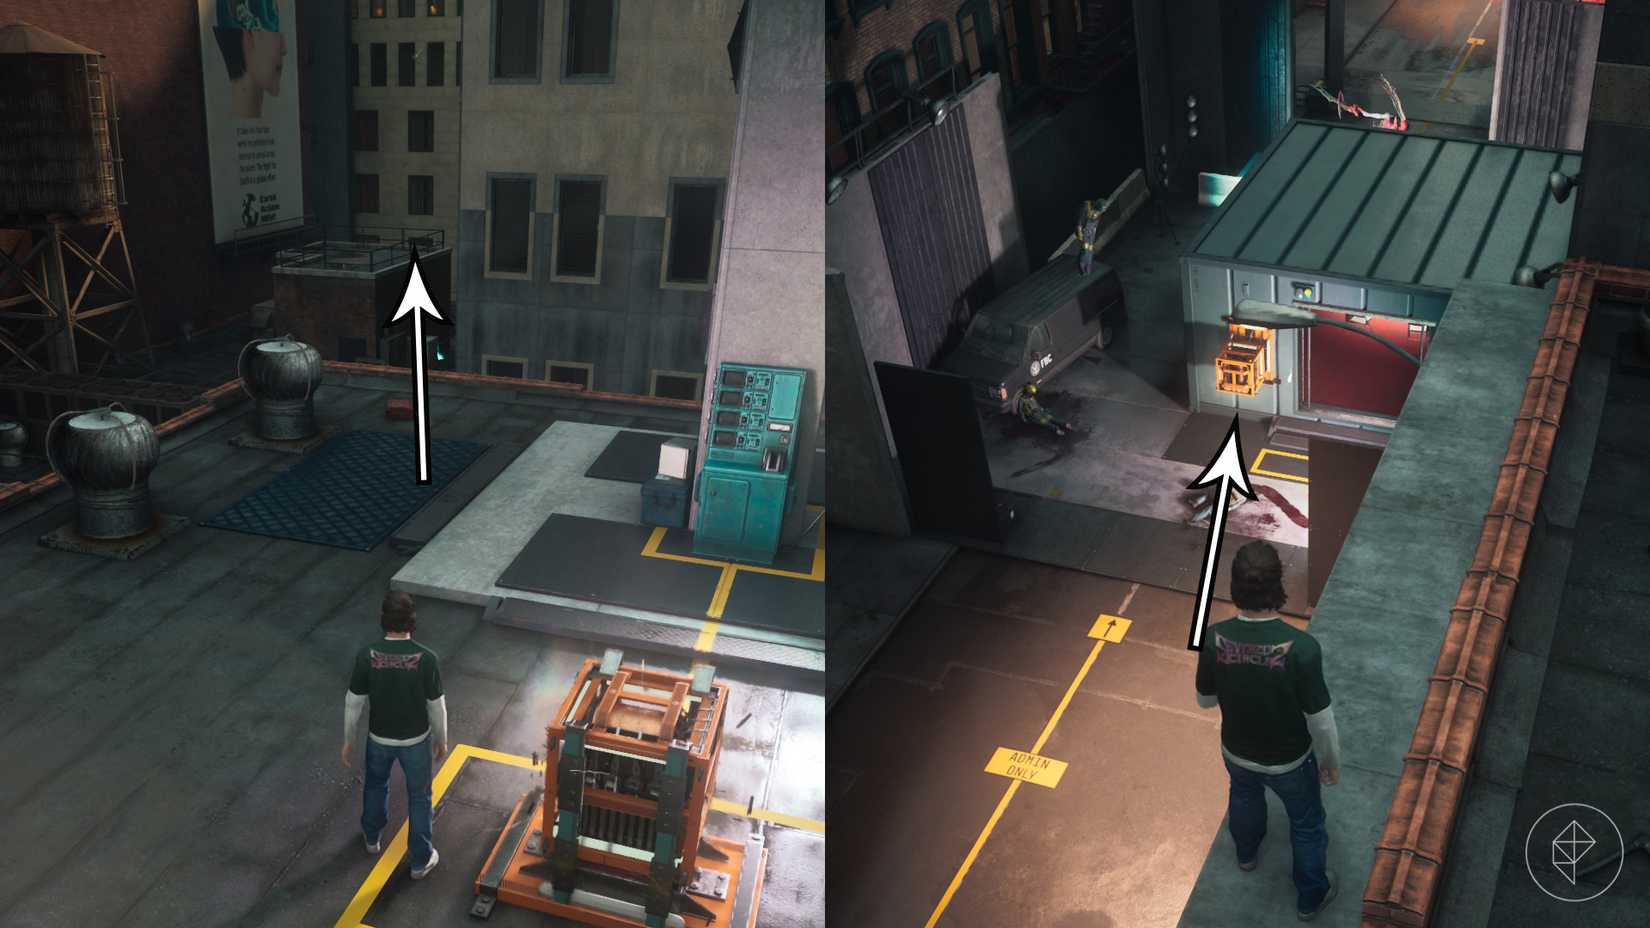
The path involves leaping to a green storage container building, striking a power core, and quickly navigating back to the construction site. The player must then locate a building with an uncharged core on its roof, strike it to transfer the charge, and navigate between the buildings to the south to reach the final uncharged core on the street below. Once the charge is successfully transferred, the door to the camera room will unlock.
Central: The Watchtower and the Factory
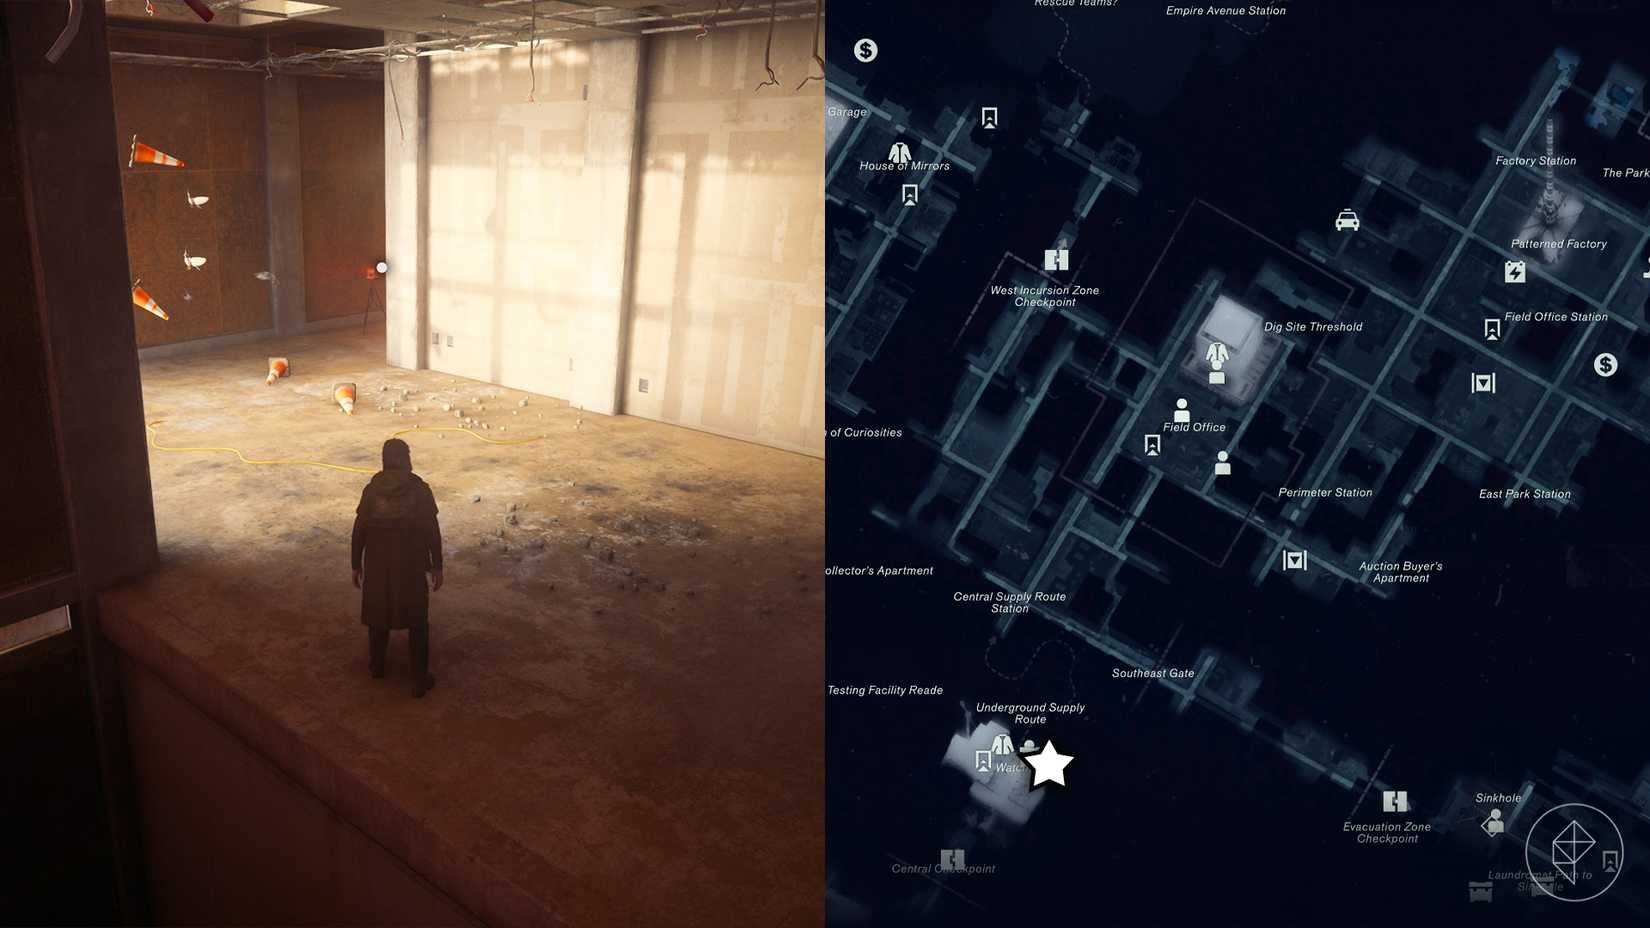
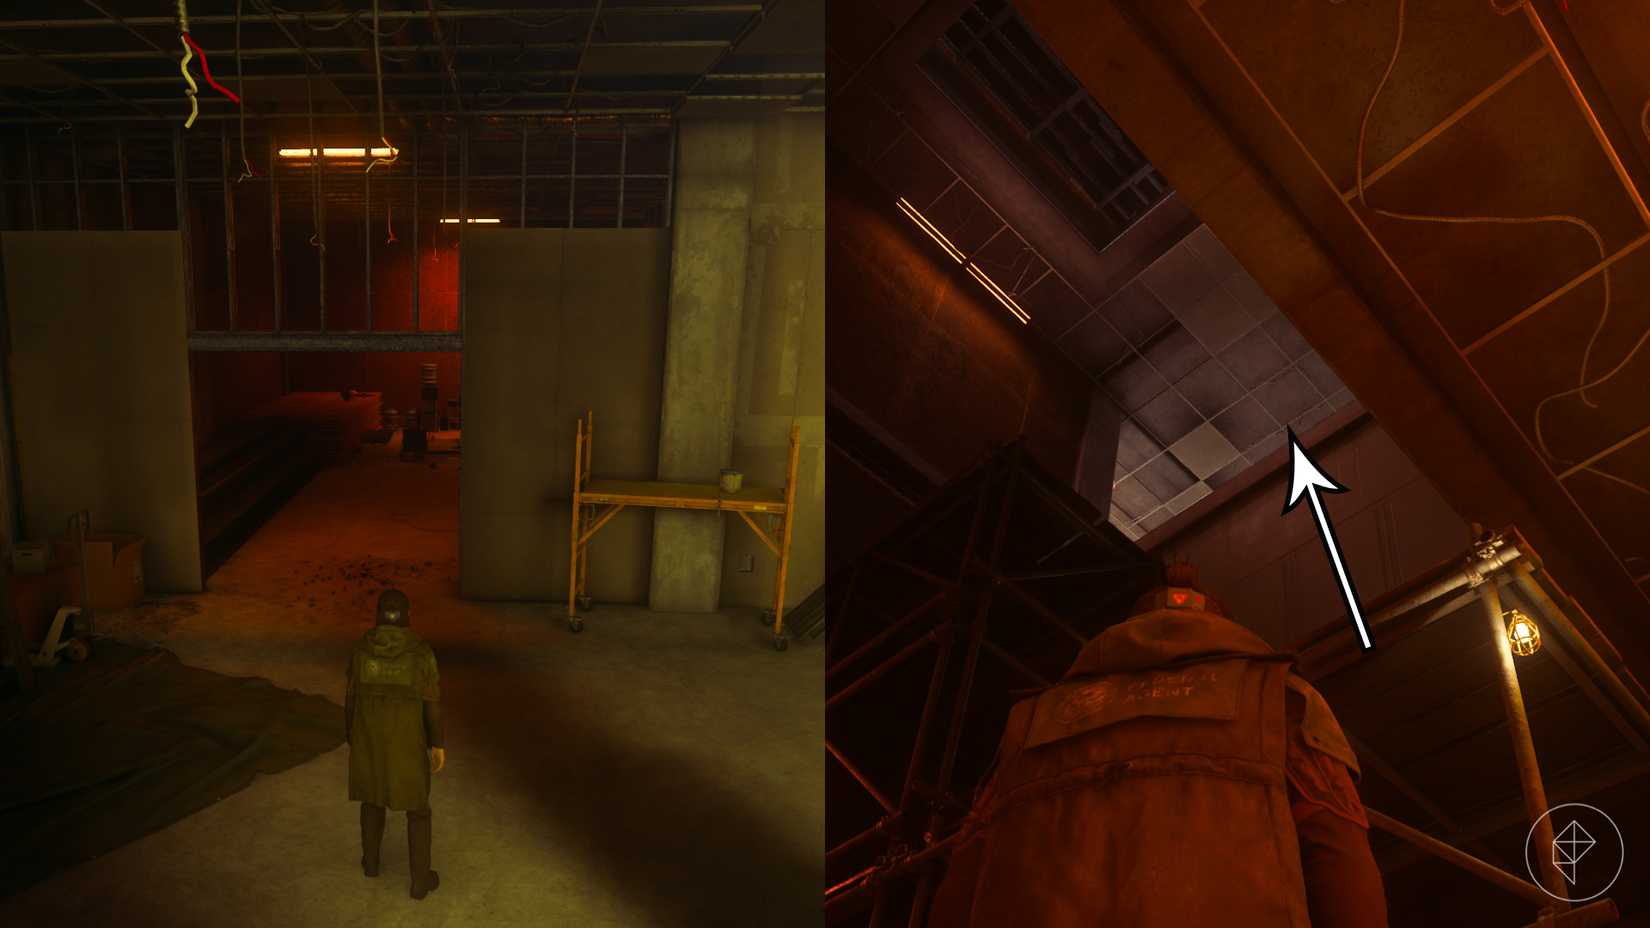
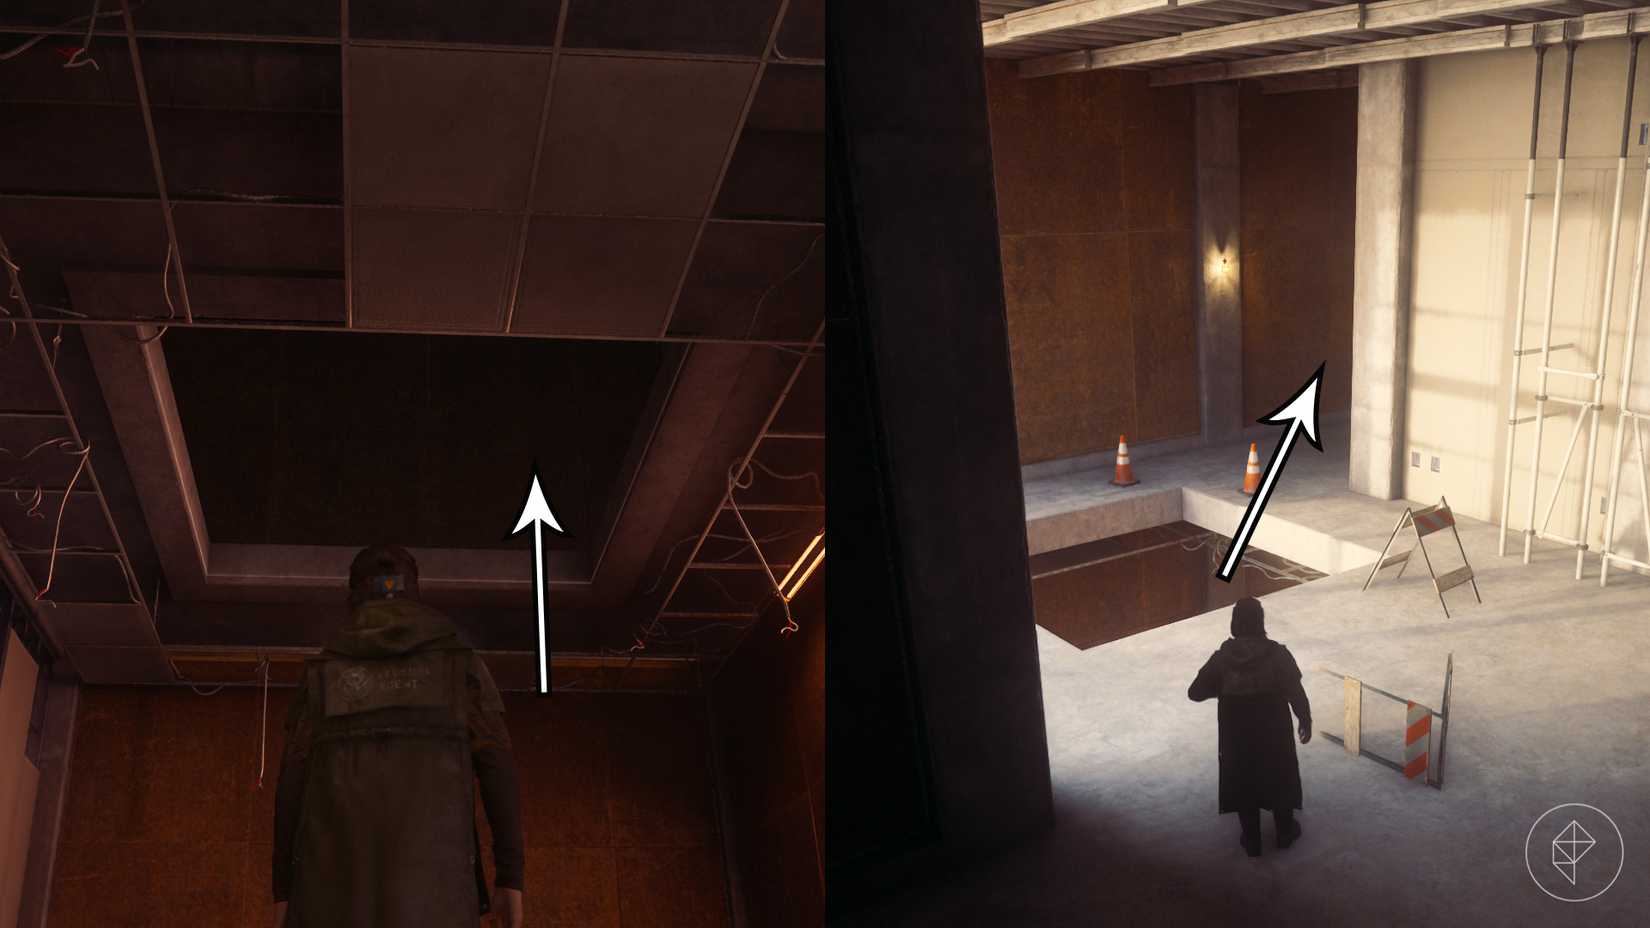
The Central zone features two key cameras, starting with the Watchtower camera—the first one many players will encounter. To reach it, players must descend to the lowest floor of the Watchtower, situated one level beneath the elevator, and enter the room bathed in orange-red light. From the eastern corner, the player can climb the scaffolding. It is vital to avoid running directly into the hallway at the top, as the camera is visible from this vantage point and will trigger if the player gets too close. Instead, players should jump through the hole in the ceiling and drop through a second opening, which deposits them directly behind the camera.
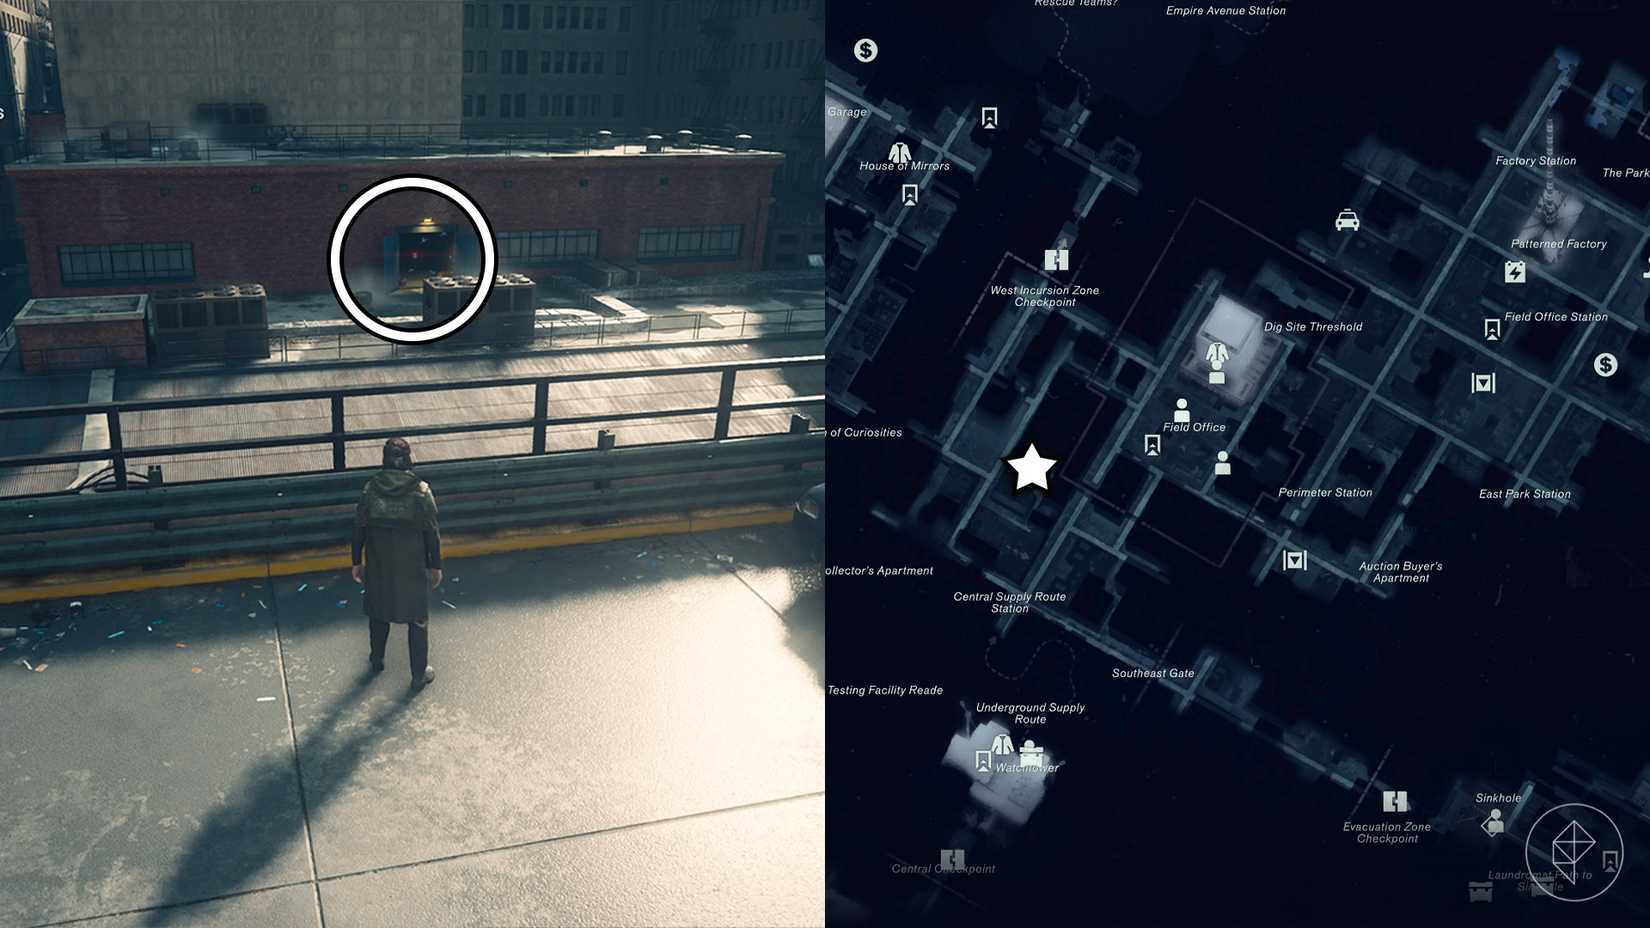
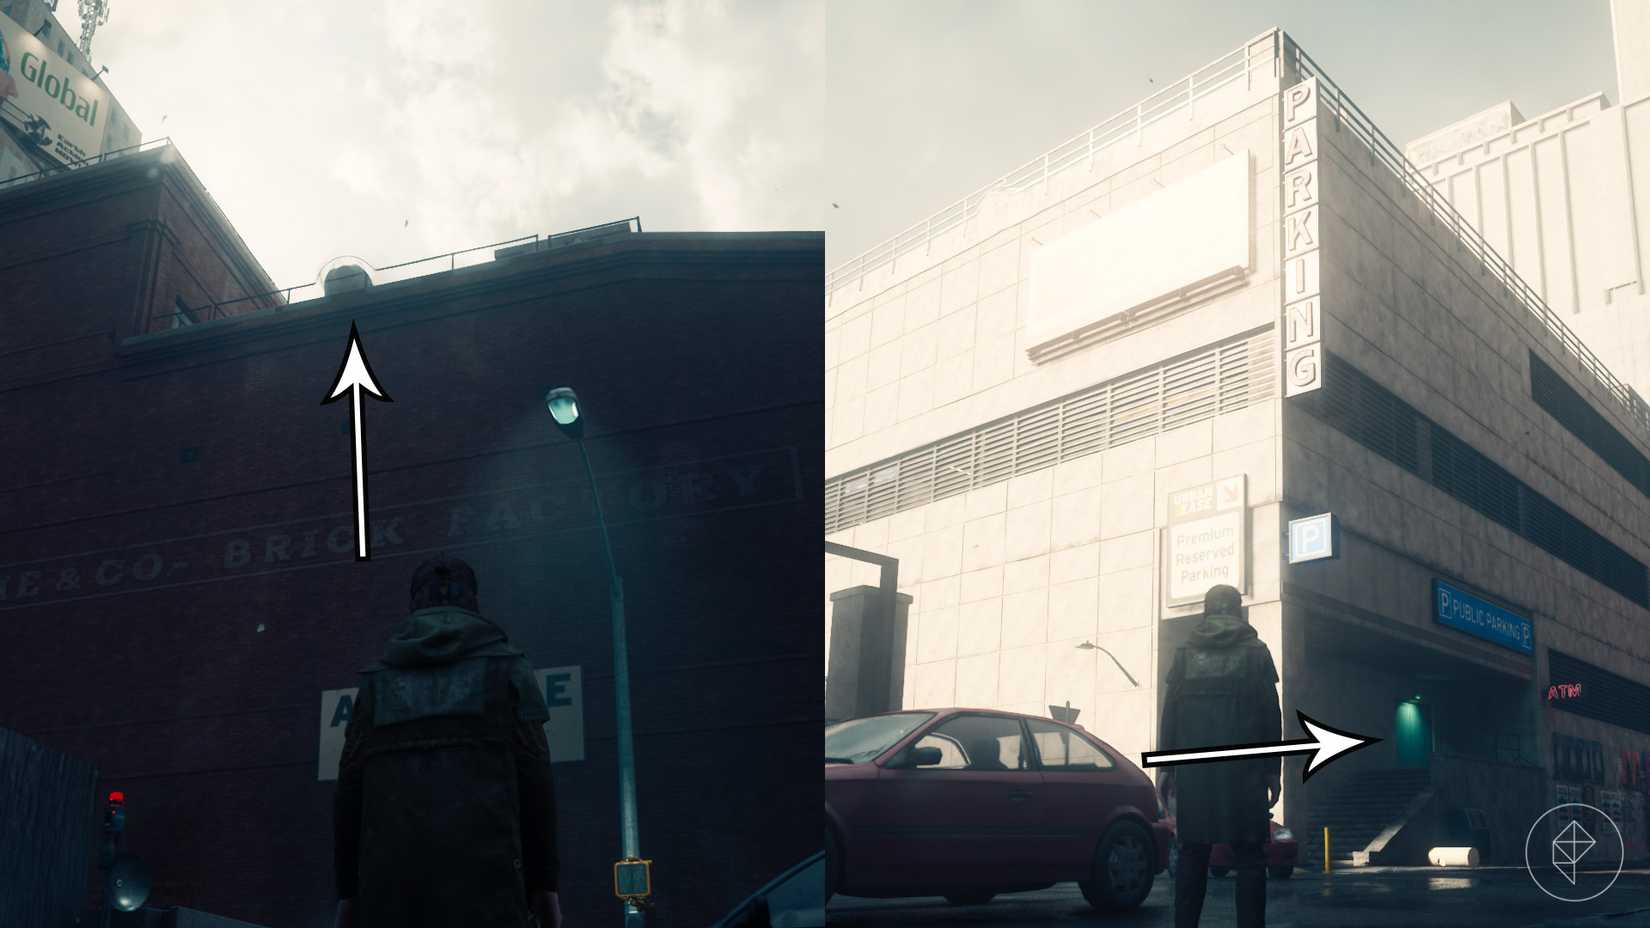
The second camera in the Central zone is housed on the top floor of a brick factory located northeast of the parking garage. Players can reach it either by using the Reach ability or by leaping from the roof of the parking garage. While Reach is the faster option, those lacking the ability must navigate the enemies within the garage. For this particular unit, the player must intentionally enter the camera’s field of view. When the camera disappears, the player must descend to the bottom floor, eliminate the local hostiles, and open the red door leading outside. The camera will reappear, allowing the player to return to the top and shut it down from behind.
The West Incursion Zone
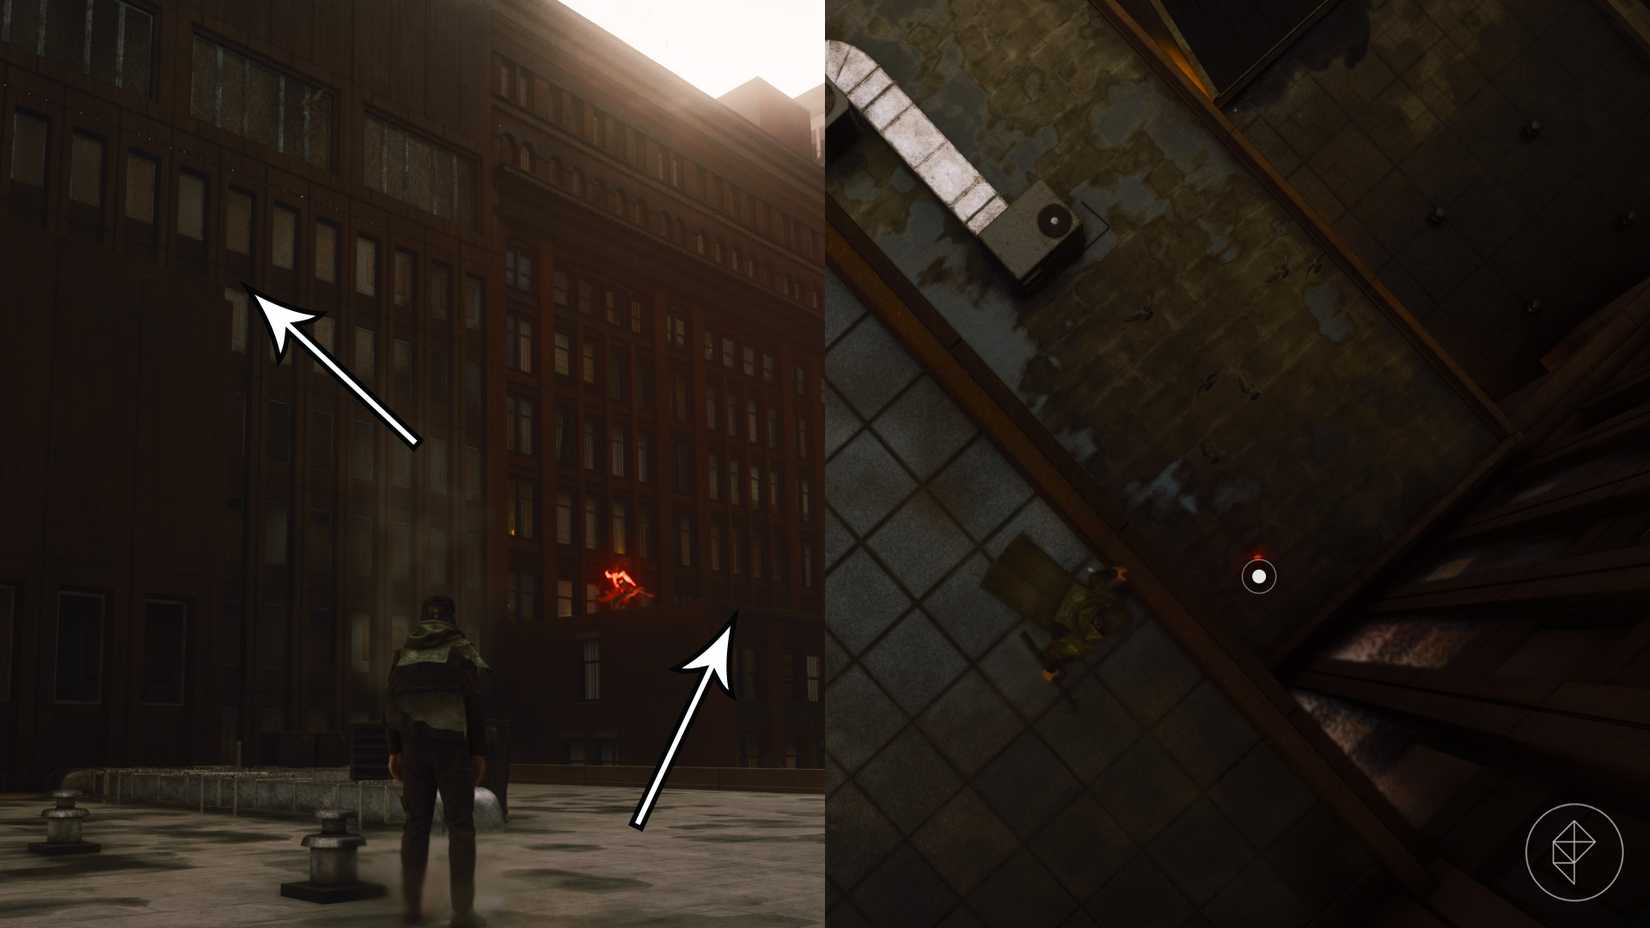
Both cameras within the West Incursion Zone require the Shift ability, reinforcing the necessity of completing the Incursion Fault in the Parking Garage before starting this segment of the hunt. The first camera is located northeast of the Parking Garage, mounted on the roof of a building that appears to have been shifted into a sideways orientation. After navigating to the building, the player must avoid approaching the camera head-on. By walking to the right and hopping over to a secondary rooftop, the player can loop back to a higher point, drop behind the device, and deactivate it.
The second camera in this zone is found on a suspended scaffolding platform in the southeastern corner, situated northwest of the Museum of Curiosities. Players must travel down the street to the west, using Shift to transition onto the road that runs along the ceiling. Upon reaching the edge, a floating platform of debris becomes visible. Running off the edge—rather than jumping—triggers a screen inversion, allowing the player to land on the debris platforms. From there, a final jump to the higher scaffolding puts the player in the perfect position to disable the camera.
Evacuation and The Park
In the Evacuation Zone, the first camera is located on the eastern side, just southwest of the Main Street fast travel door. This requires a complex power core transfer. The player must strike a core south of the Evac Building, carry the charge west down the street, and transfer it to an uncharged core before a door. After moving through or over the door, the player must repeat this process to transfer the charge to a final core on the roof.
The second Evacuation camera is located on a building south of the Railyard Street Station. After using Reach to access the roof and triggering the camera to disappear, the player must exit the building through the front door on the ground floor. This causes the device to reset, allowing the player to retrace their path and approach the camera from its rear.
The Park, meanwhile, contains a camera at the southern sewer entrance. After exiting the northern sewer and navigating to the south, the player must activate a power core below an elevator, ride the lift to the top, and glide to a platform to reach the device. The second camera is within the Nomad Avenue Station, where players must use an incendiary combat ability to clear a mold-covered door, providing a path to bypass the camera’s sightline.
The Final Containment
Once all cameras have been neutralized, the quest concludes with a final challenge near the Oldest House. Seven cameras will appear in a line, and shutting one down causes the others to teleport. The player must approach from the east to avoid detection, using the surrounding environment—including metal platforms and rooftops—to flank the devices. After several rounds of this, the final camera will return to its central position. Disabling it grants the player the "Shiny Pebble" artifact recipe, a valuable reward that provides health restoration during gravity-based anomalies, effectively closing the book on this anomalous threat.